4️⃣ Working with Analytics & Visualization Tools: QlikView & QlikSense
QlikView with TMVGate XML Output
-
Open a new QlikView document
-
Choose File -> Edit Script
-
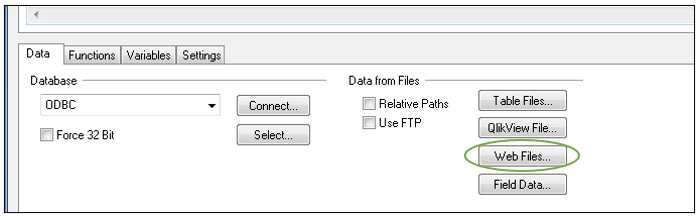
Select Web File as the data source
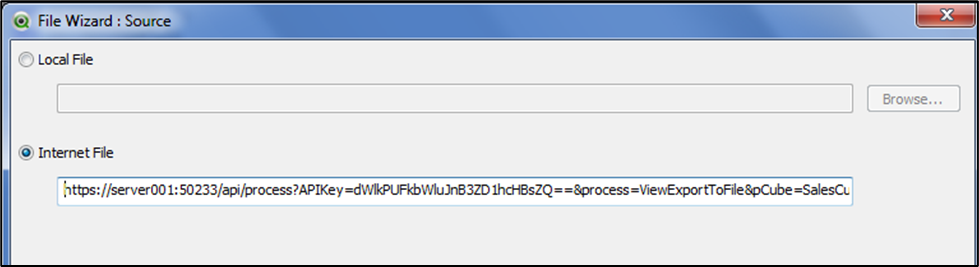
4. In the next dialog box, copy and paste the generated URL in the ‘Internet File’ input box
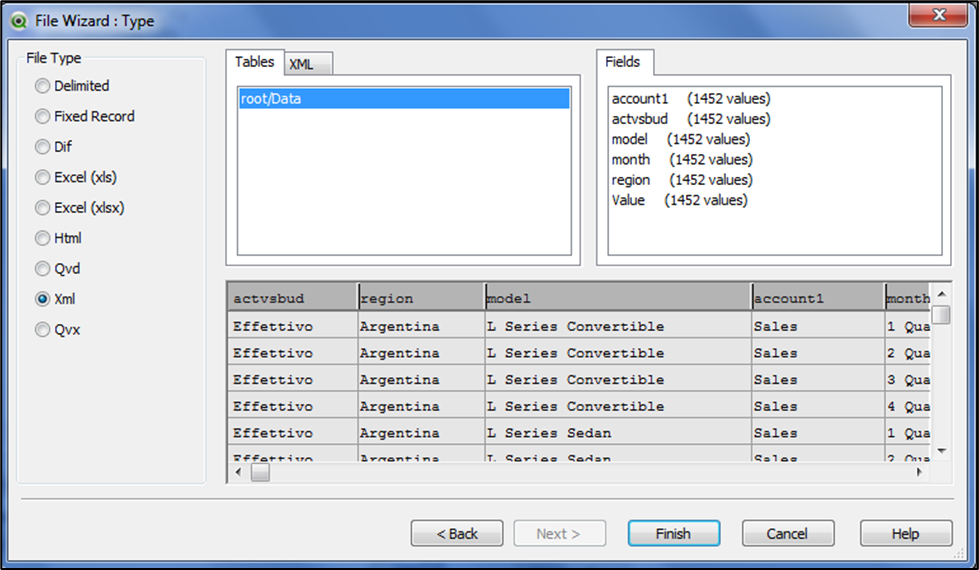
- QlikView should be able to interpret the XML and display the detected fields and records
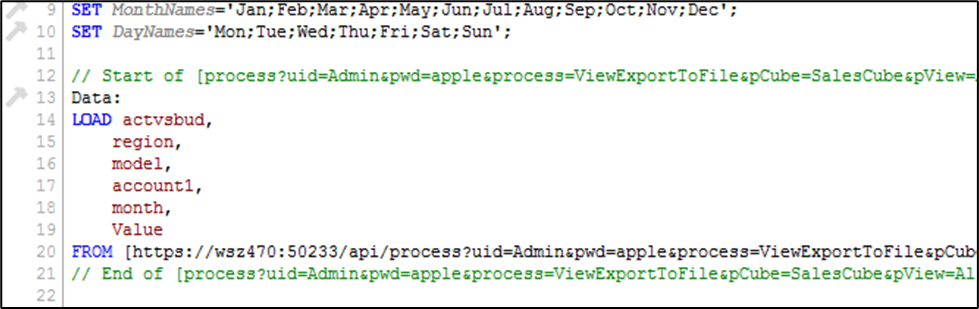
- Click Finish to complete the definition and the QlikView script is now completed
-
Test by loading and refreshing the data in QlikView. You can modify your TM1 view that is specified in the URL and observe the real-time changes to the data in QlikView
-
You are ready to start with your report or visualization creation. As and when you perform a Reload, QlikView will initiate a TMVGate request to refresh the data from TM1 in real time
QlikView with TMVGate PSV or TXT Output
-
Open a new QlikView document
-
Choose File -> Edit Script
-
Select Web File as the data source
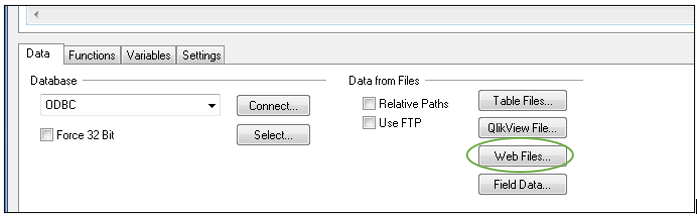
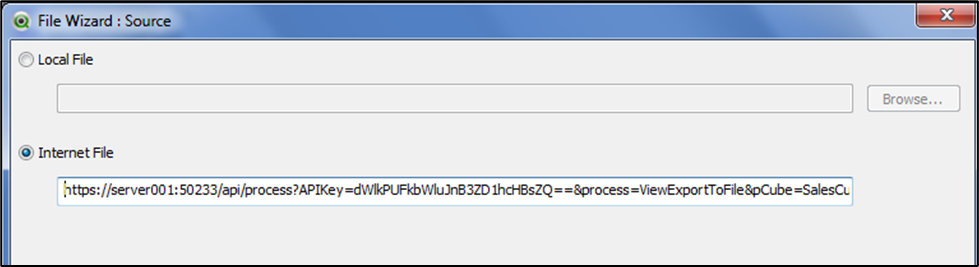
4. In the next dialog box, copy and paste the generated URL in the ‘Internet File’ input box
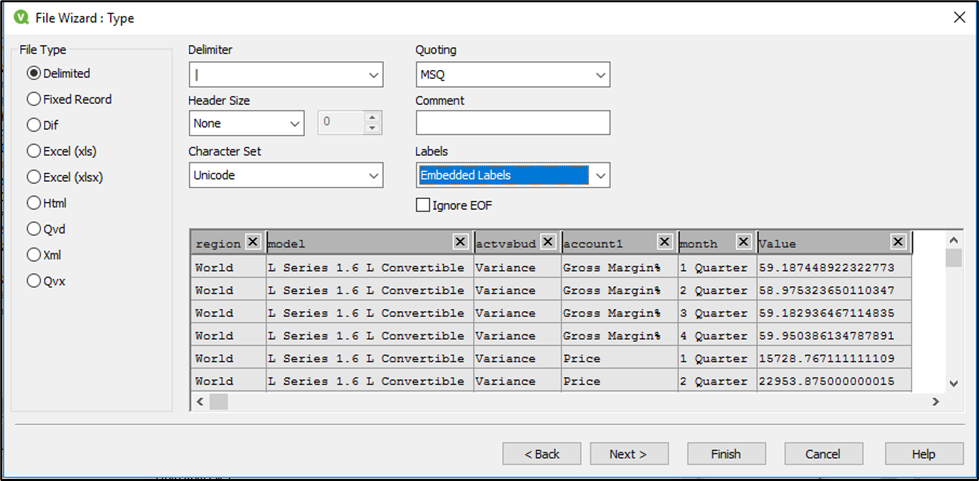
For the Delimiter, select “|” for TMVGate PSV output. If the TMVGate output is TXT QlikView should be able to detect comma as the Delimiter automatically. Choose “Embedded Labels” for Label and QlikView should be able to interpret the TMVGate output and display the detected fields and records
5. Click Finish to complete the definition and the QlikView script is now completed
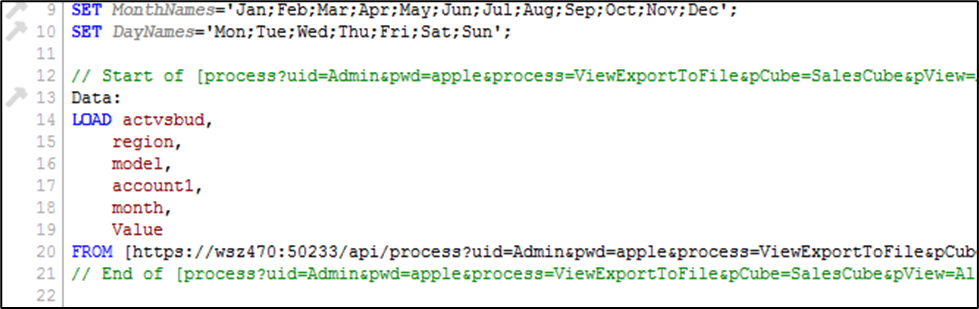
6. Test by loading and refreshing the data in QlikView. You can modify your TM1 view that is specified in the URL and observe the real-time changes to the data in QlikView
7. You are ready to start with your report or visualization creation. Whenever you perform a Reload, QlikView will initiate a TMVGate request to refresh the data from TM1 in real time
QlikView with TMVGate XML Output
-
Create a new QlikSense Apps
-
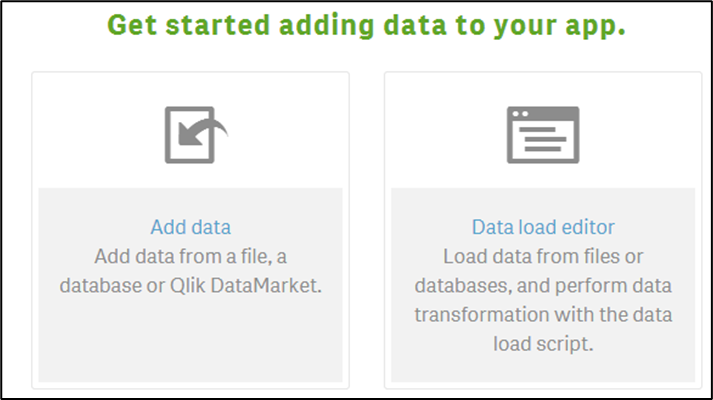
Choose Add Data
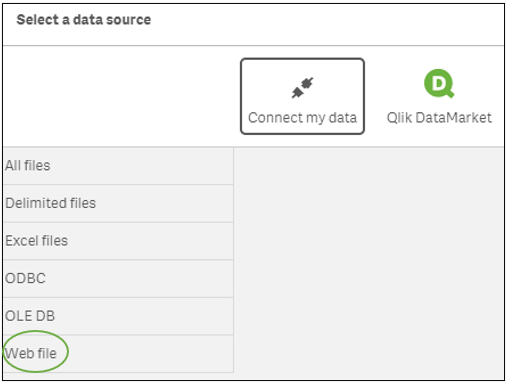
- Choose Web File
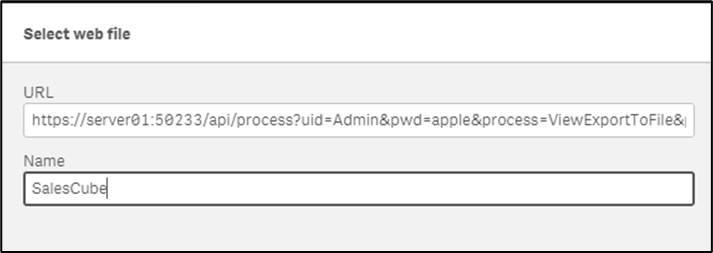
- Copy and paste the TMVGate URL and give a name
- QlikSense should be able to detect the format as shown
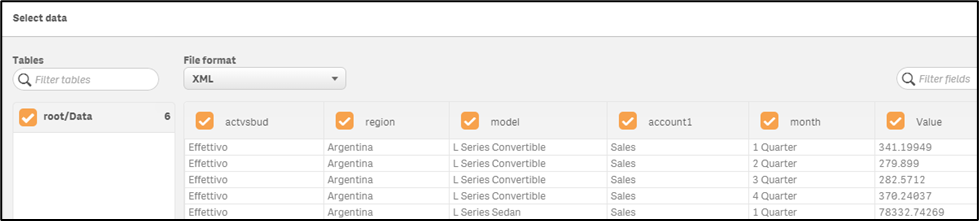
- Click on Load and Finish. You are ready to start with your report or visualization creation
QlikSense with TMVGate PSV or TXT Output
-
Create a new QlikSense Apps
-
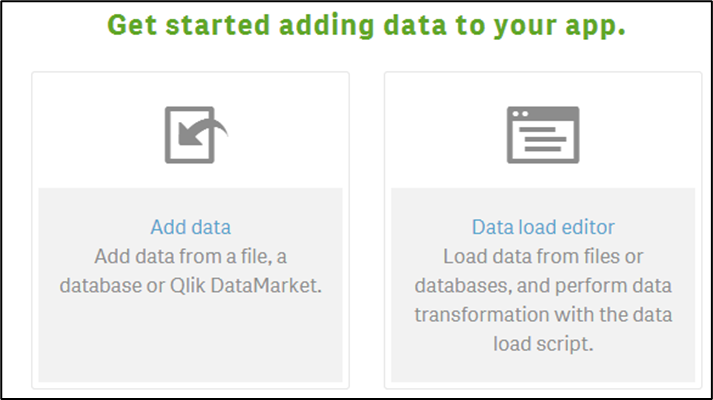
Choose Add Data
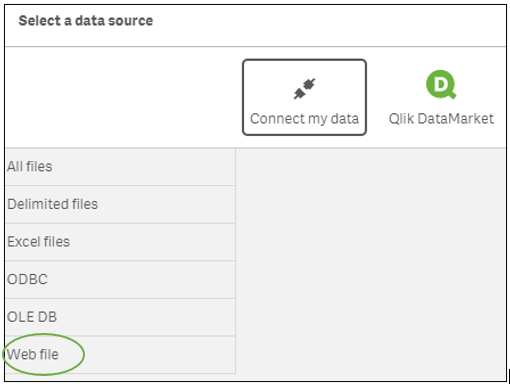
- Choose Web File
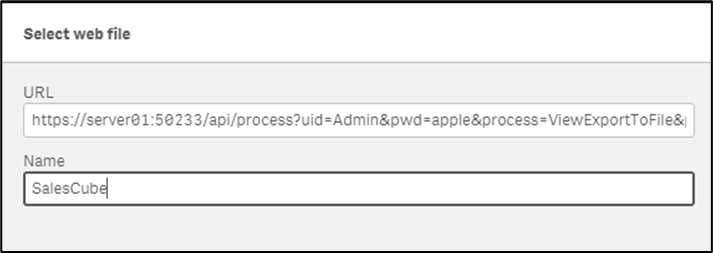
- Copy and paste the TMVGate URL and input a name
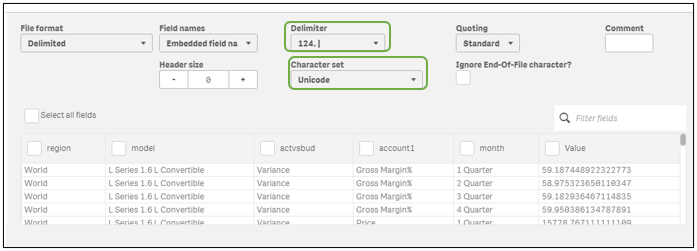
- On the next screen, specify the delimiter for PSV (|) or TXT (Comma) format. For the Character Set, specify Unicode
- Click on Load Data and finish. You are ready to start with your report or visualization creation
Using TMVGate Basic Authentication mode with QlikView and QlikSense
QlikView and QlikSense do not provide interfaces to input credential information. A quick way of providing the credentials is to embed the username and password in the URL as shown in the example below:

You can further parameterize the credentials in QlikView using the Input box function in the Script. Please refer to QlikView product documentation for details.